the sleek box that locks and unlocks.
This was supposed to be a simple laser cutting exercise. I wanted to make it a little fancier, though. Check out the original documentation.
assignment
- Create a design for a laser cut box using Corel Draw
- Visually confirm that everything is designed properly
- Prototype that design with cardboard
- Assemble, and assess design. Make any necessary adjustments
- Create final design with plywood (if time allows)
- Assemble final product
box design
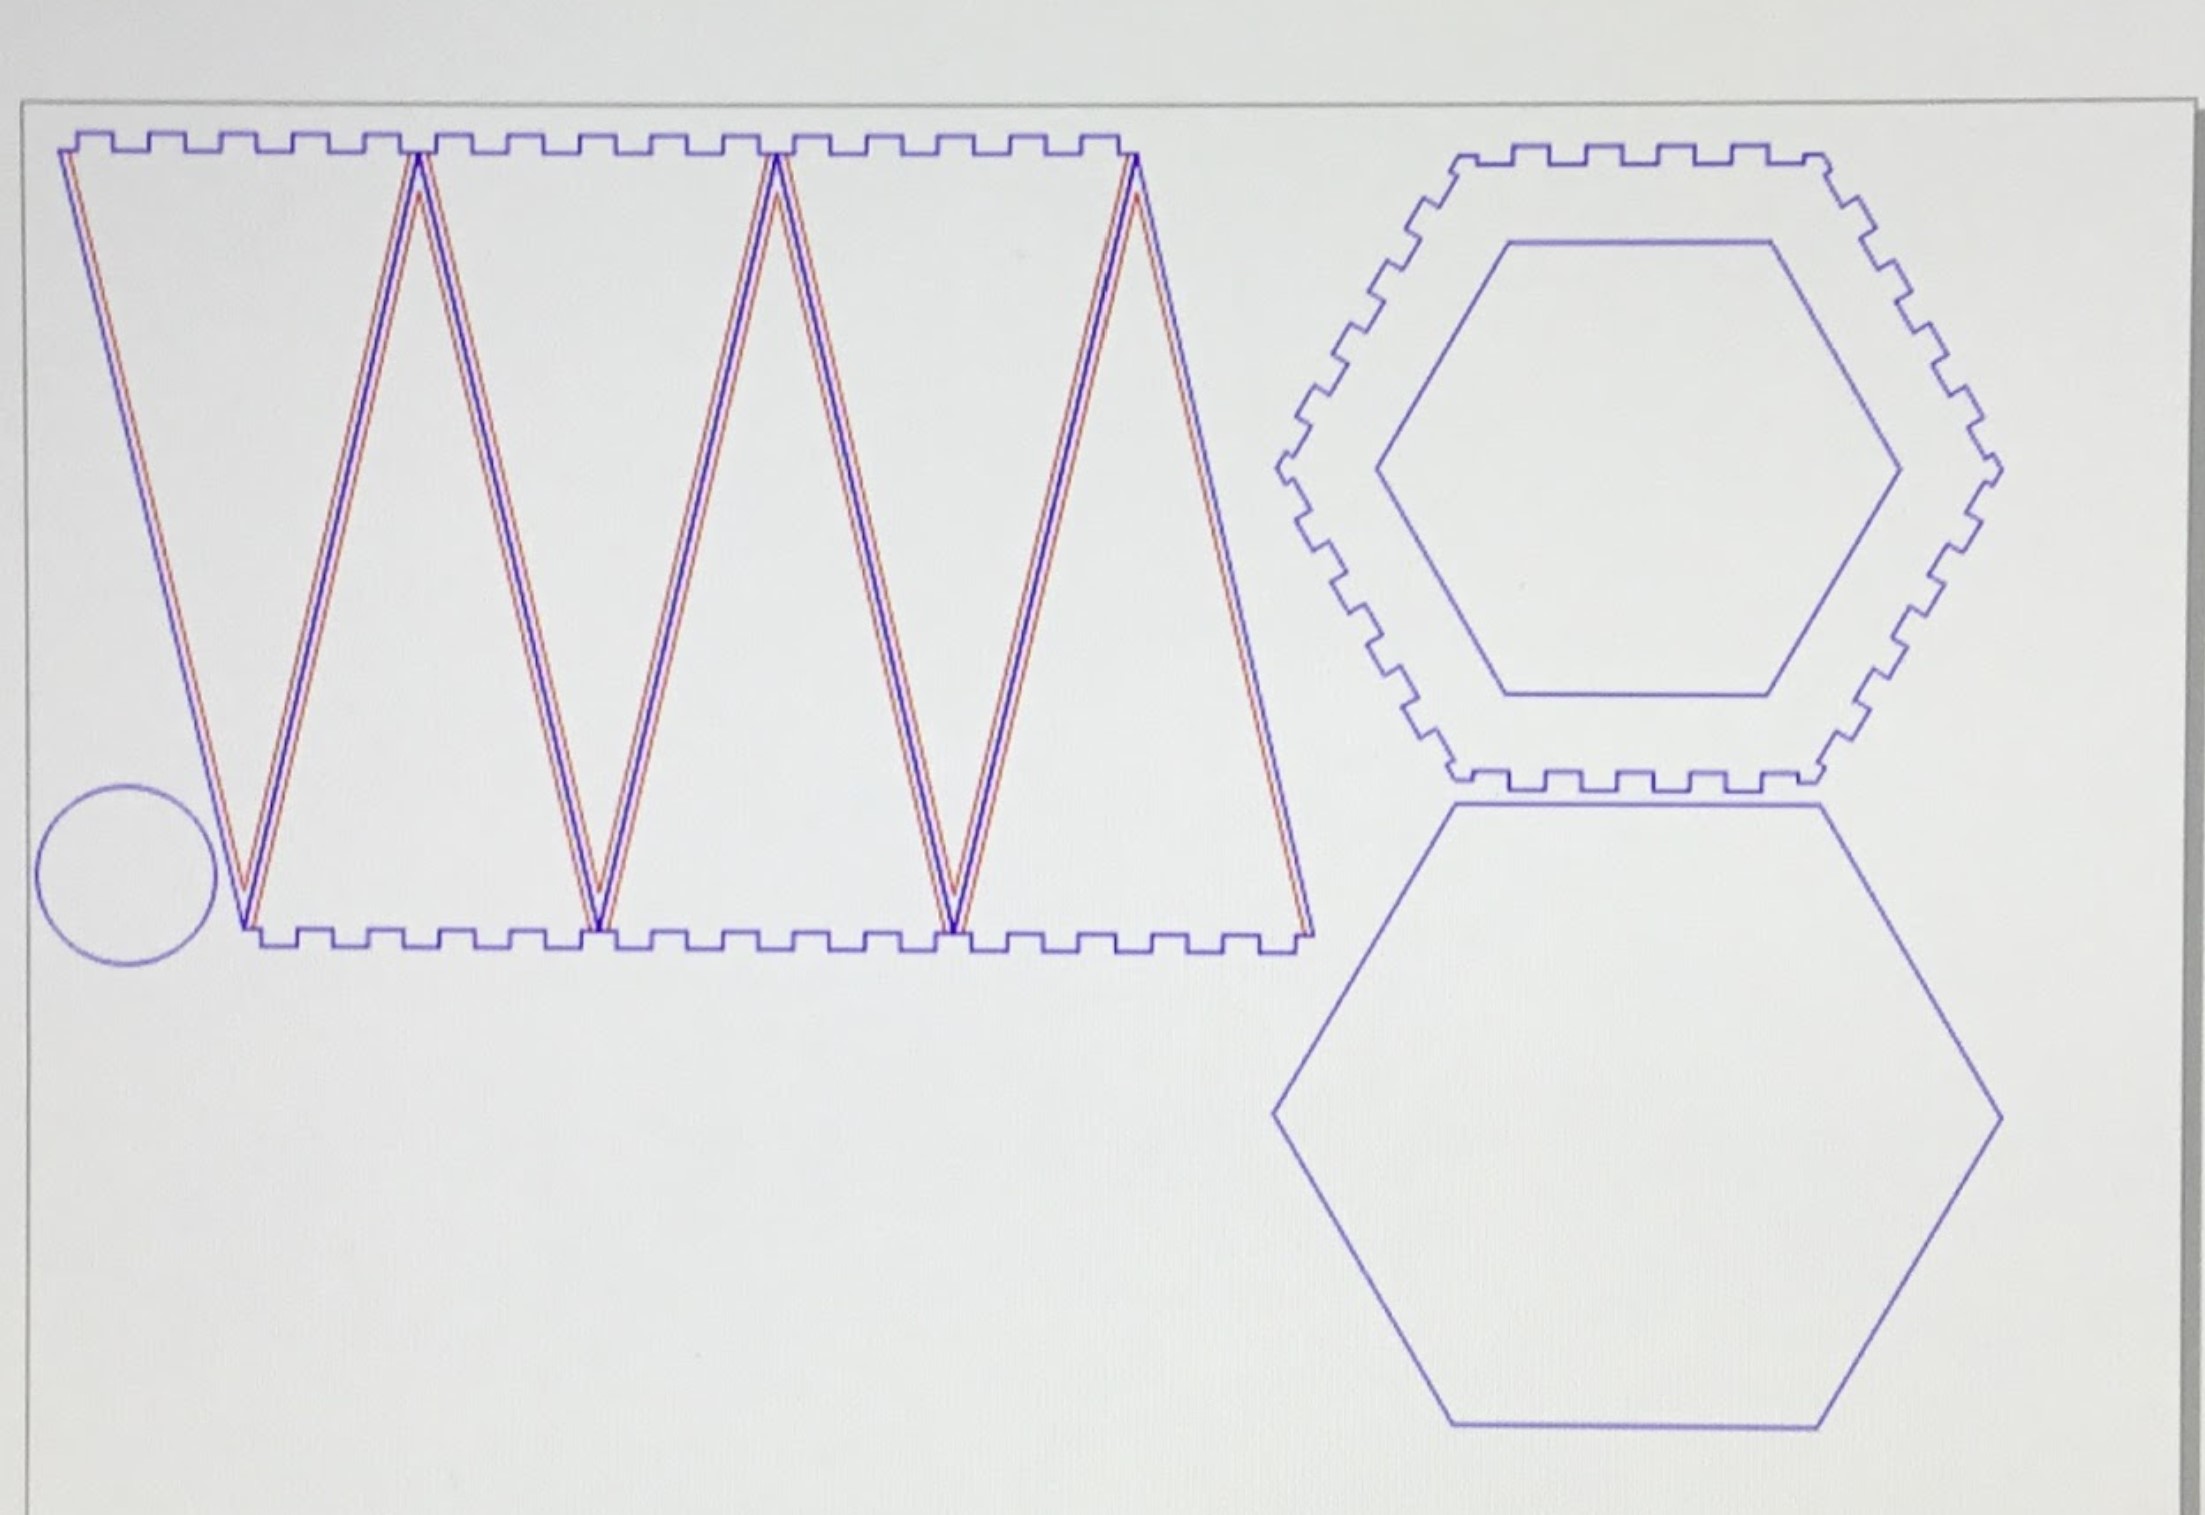
This box was designed to be a hexagonal pyramid pattern lamp that would shine the light outwards and upwards onto a surface. I started off by calculating the lengths of the sides of the triangles (based on a hexagon with a side length of 5) and added tabs on the bottom of them. The smaller hexagon inside the one with tabs was meant to be the ‘lid’ of the box.
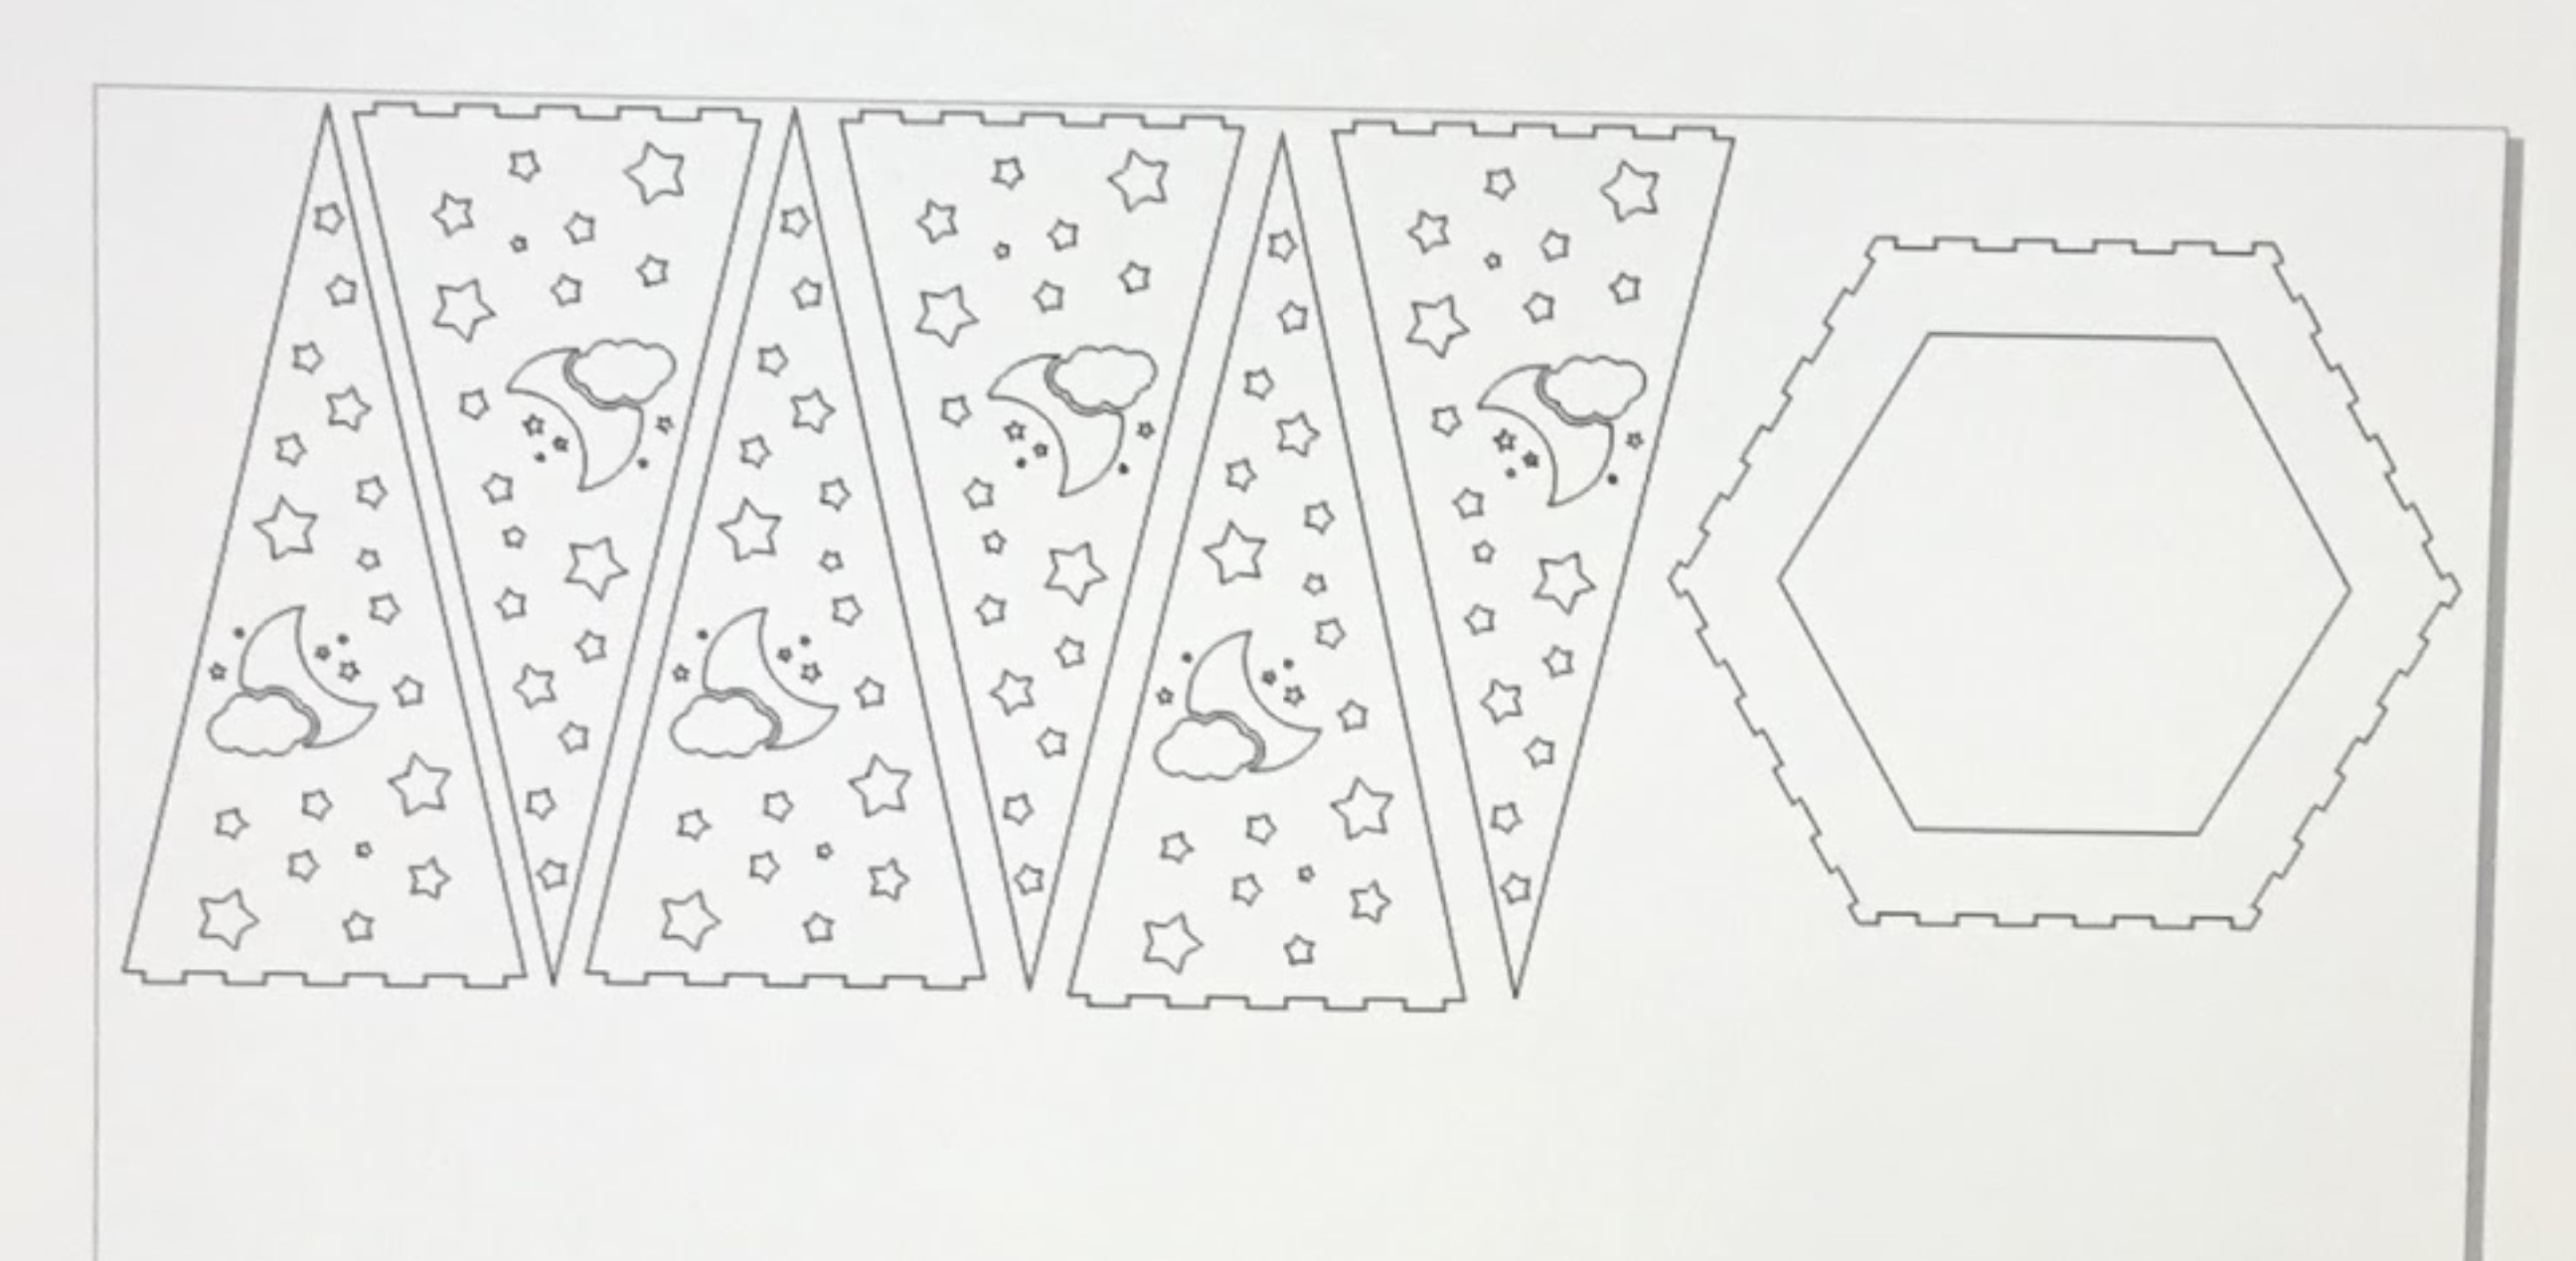
laser cutting the first design
I sent the design to the laser cutter; it took around 6 minutes for the design to fully cut.
assembly issues & redesign
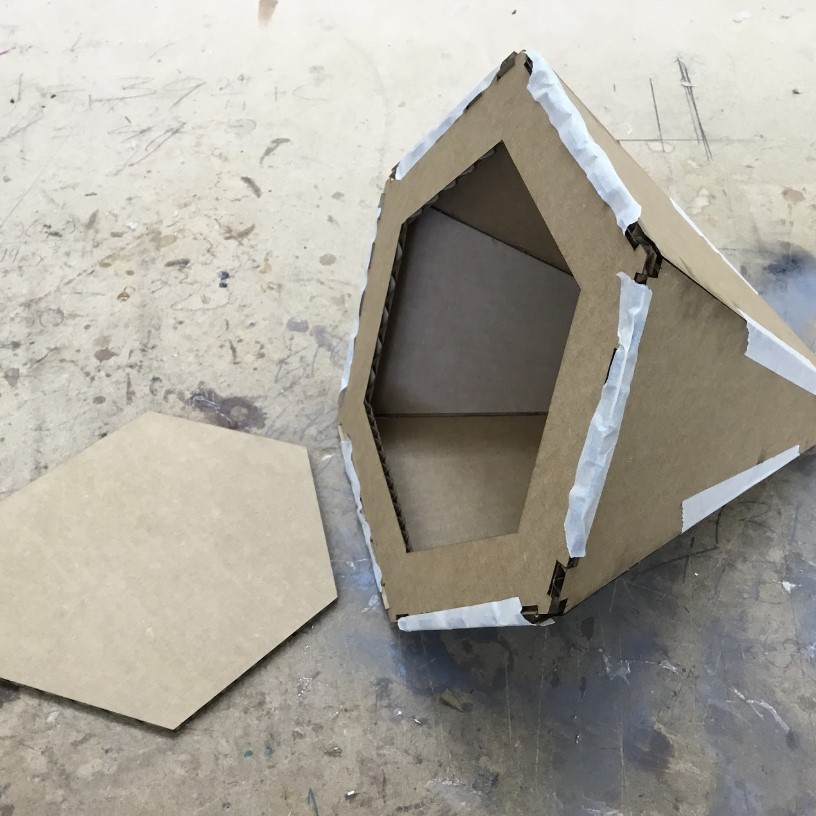
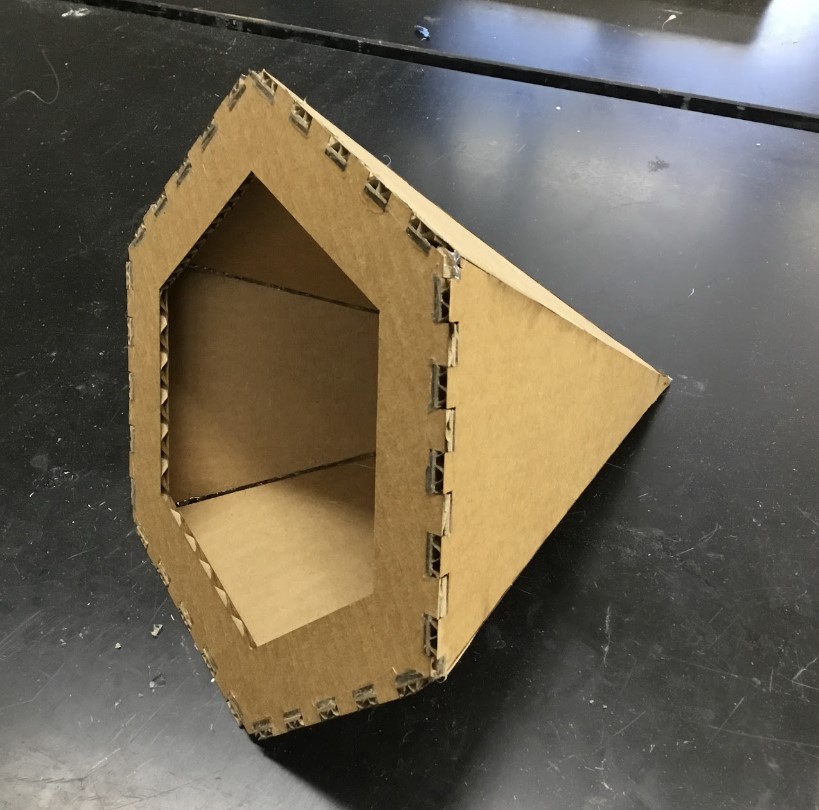
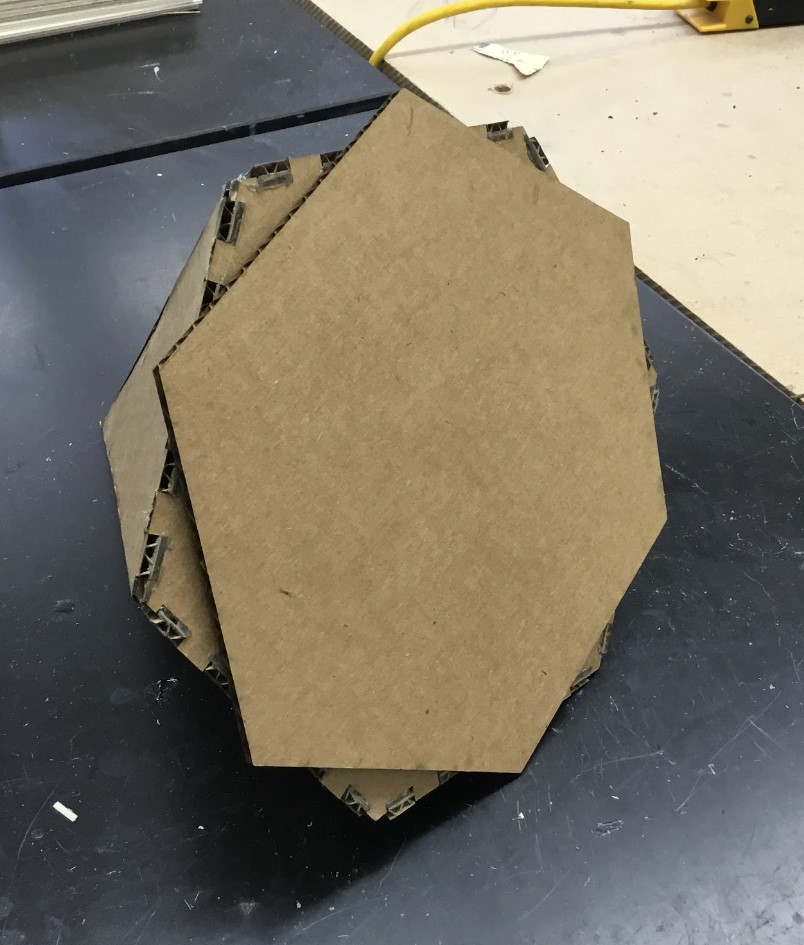
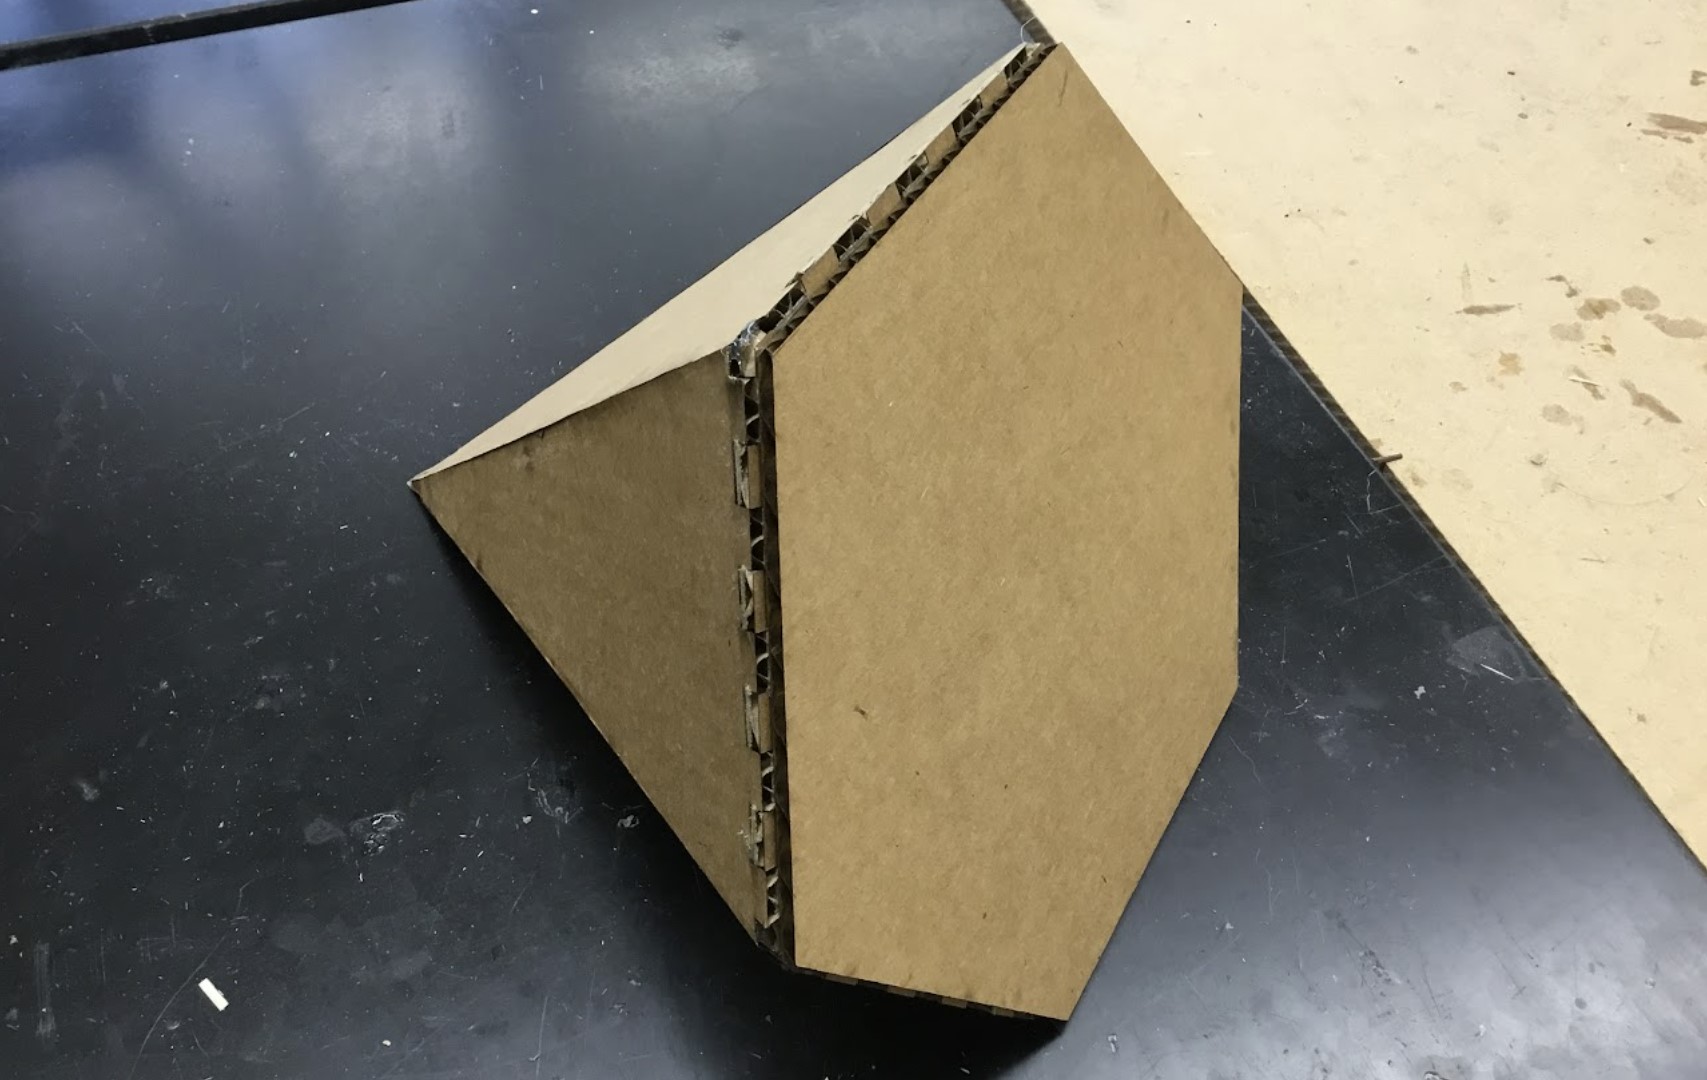
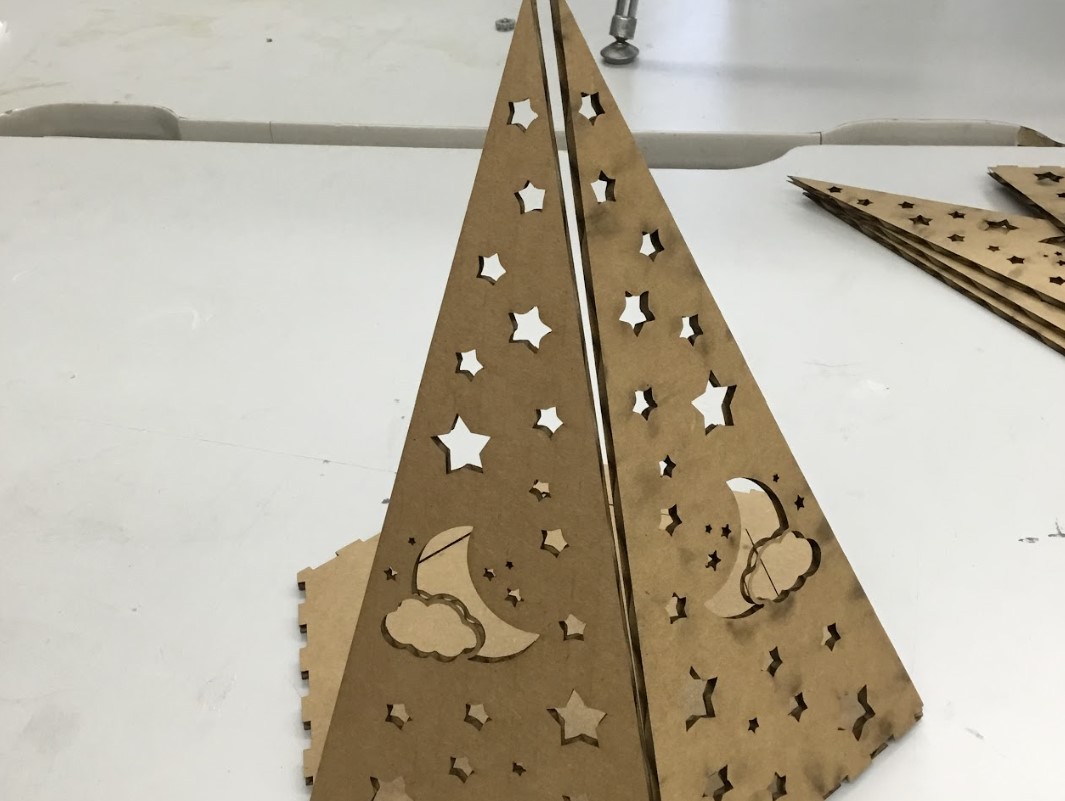
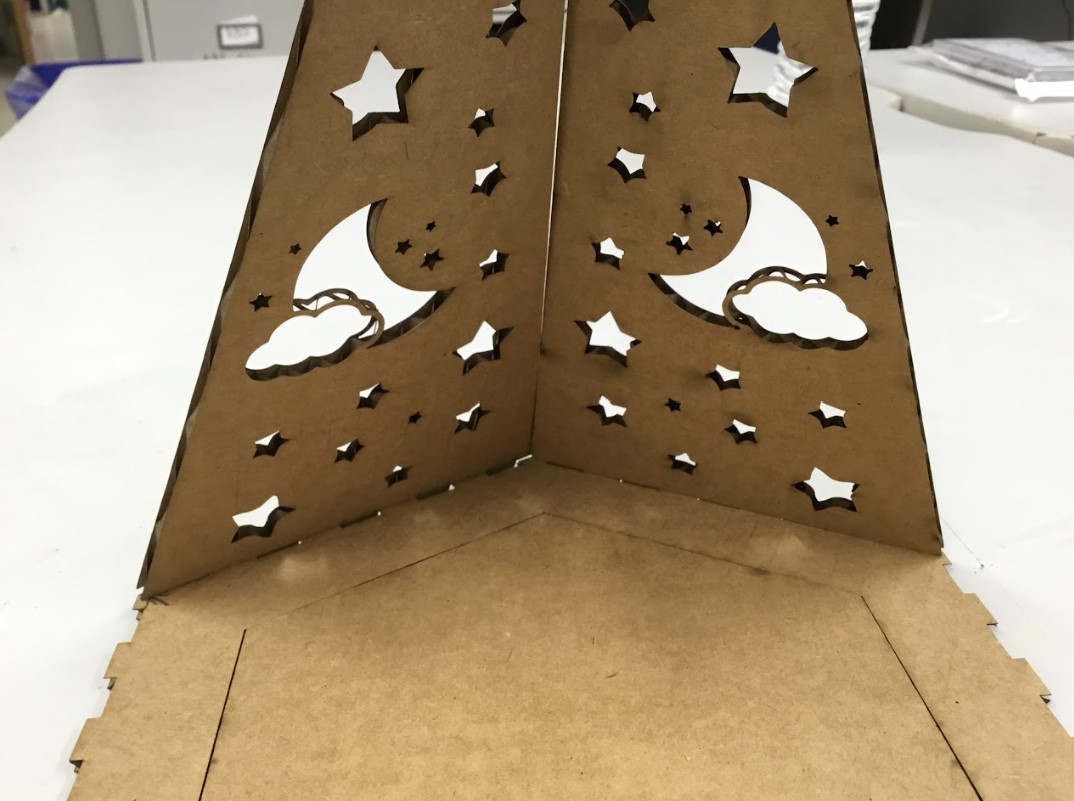
After the first cut, I noticed that the parts of the box did not fit together well (as seen in the two photos below on the left). I realized that the math I had done disregarded the width of the cardboard, so I readjusted the tab heights and added another set of lines parallel to the lines of the triangle. This way, once the new half-cut of the parallel lines was made, I would be able to peel the strips of cardboard away so that the pyramid would better fit.
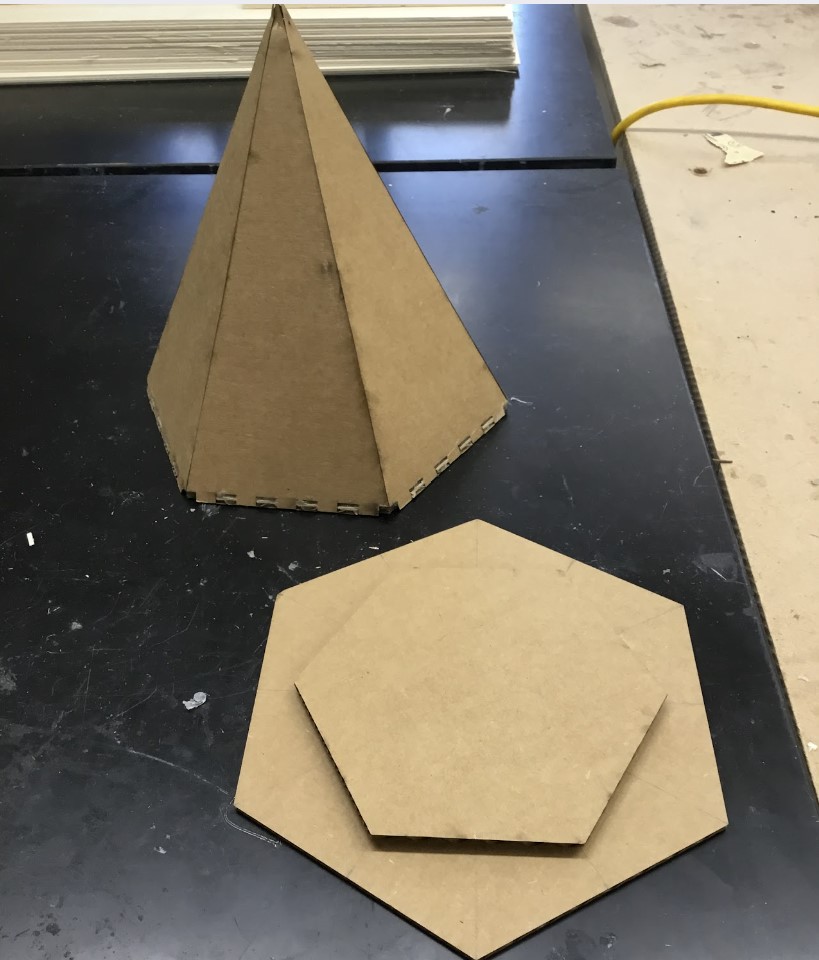
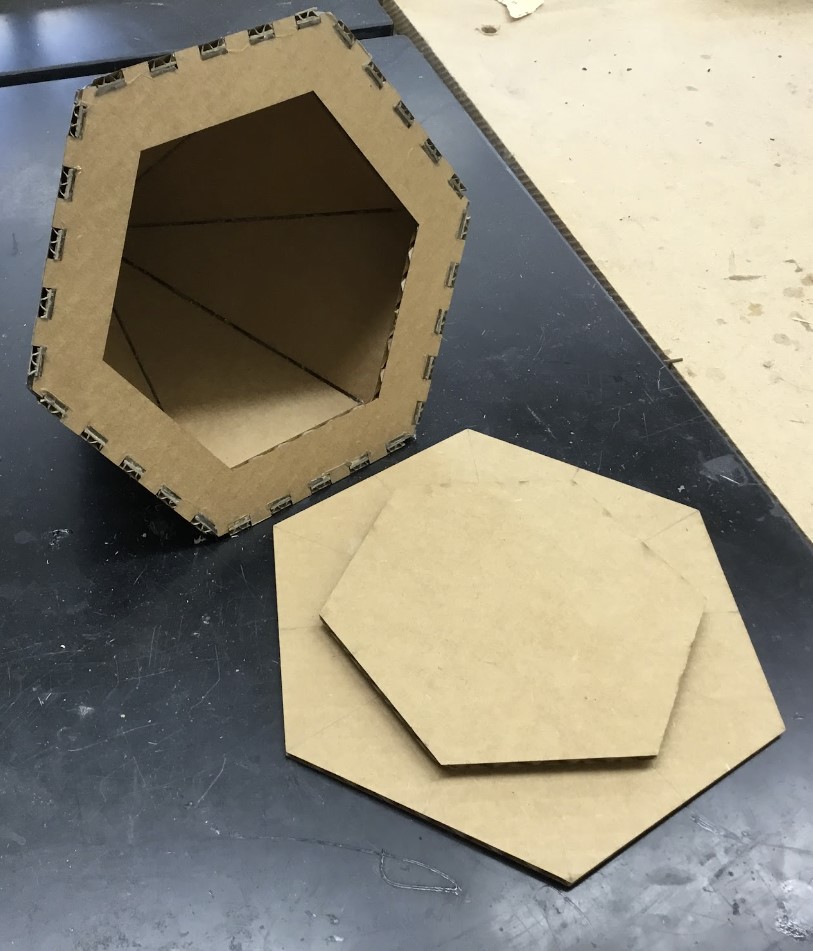
I also redesigned the ‘lid,’ since I found that it was too hard to put a flat piece of cardboard in place. The concept of the new lid was a twist and lock type of system. I would push in the lid where the inner hexagon fit the lid opening, and then twist it so that the outer hexagon would fit the outer shape of the hexagon.
To save more time during the cut, I disregarded the stars and moon design and put it on the side of the design.
laser cutting the redesign
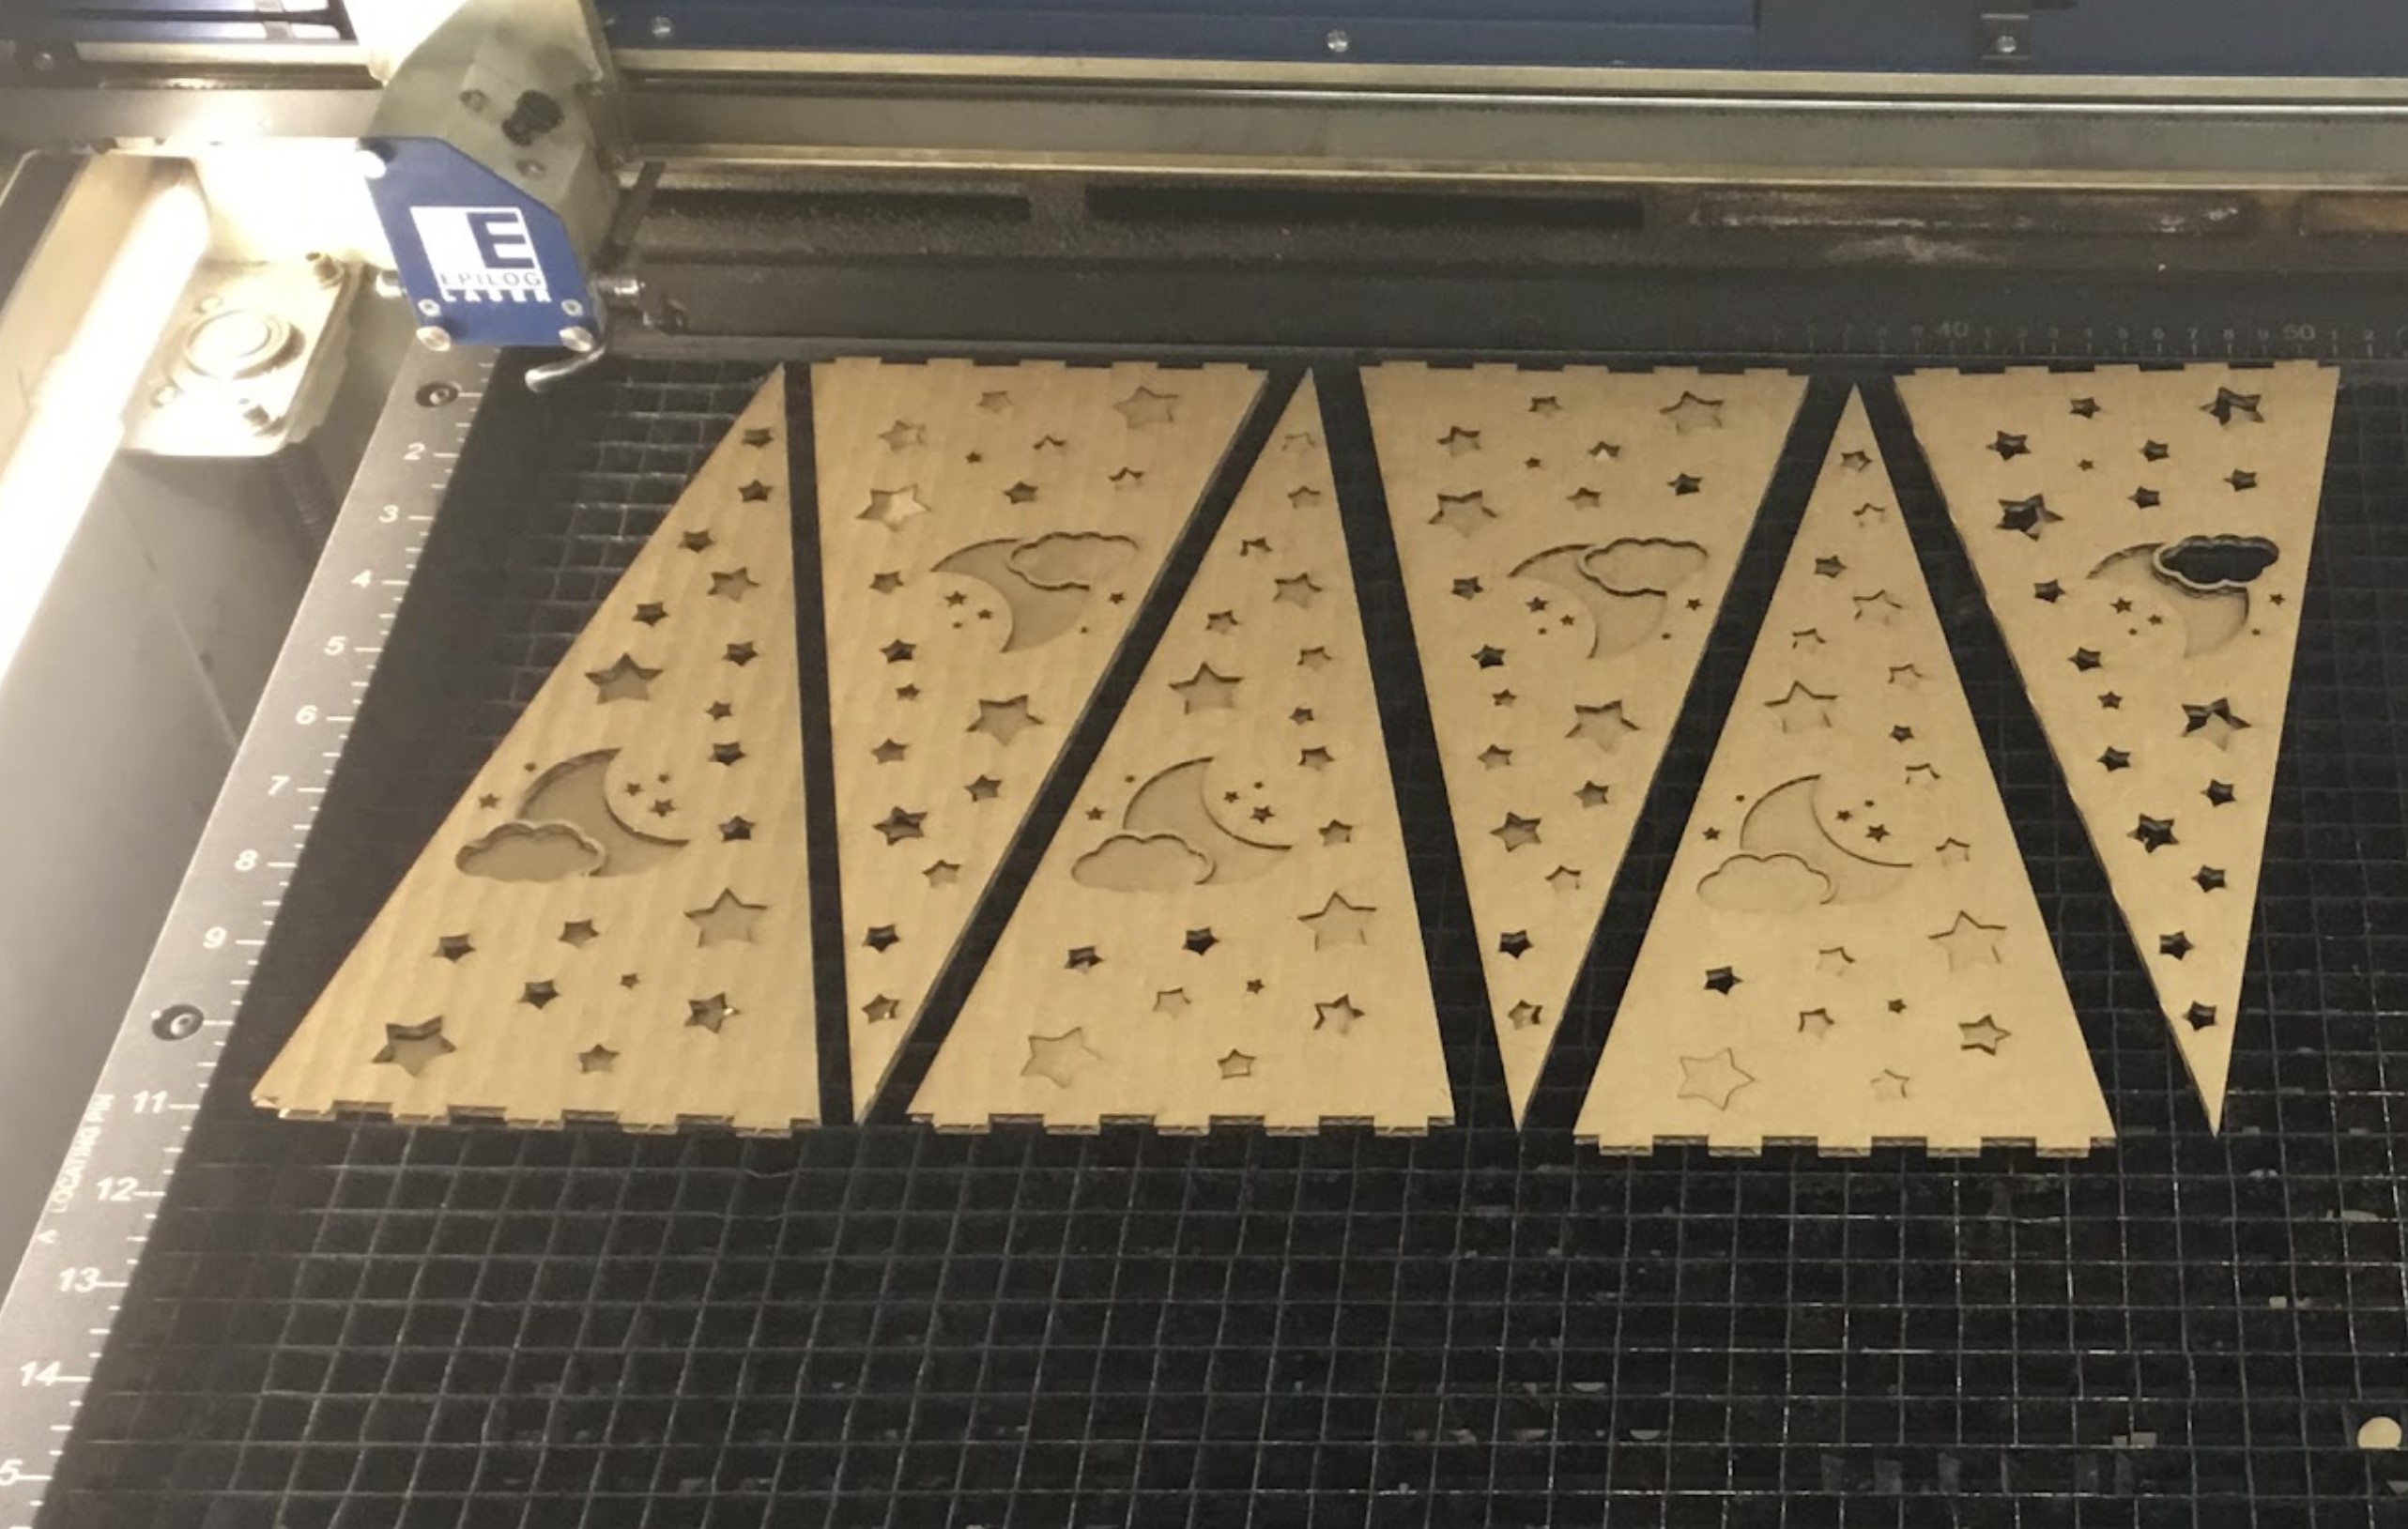
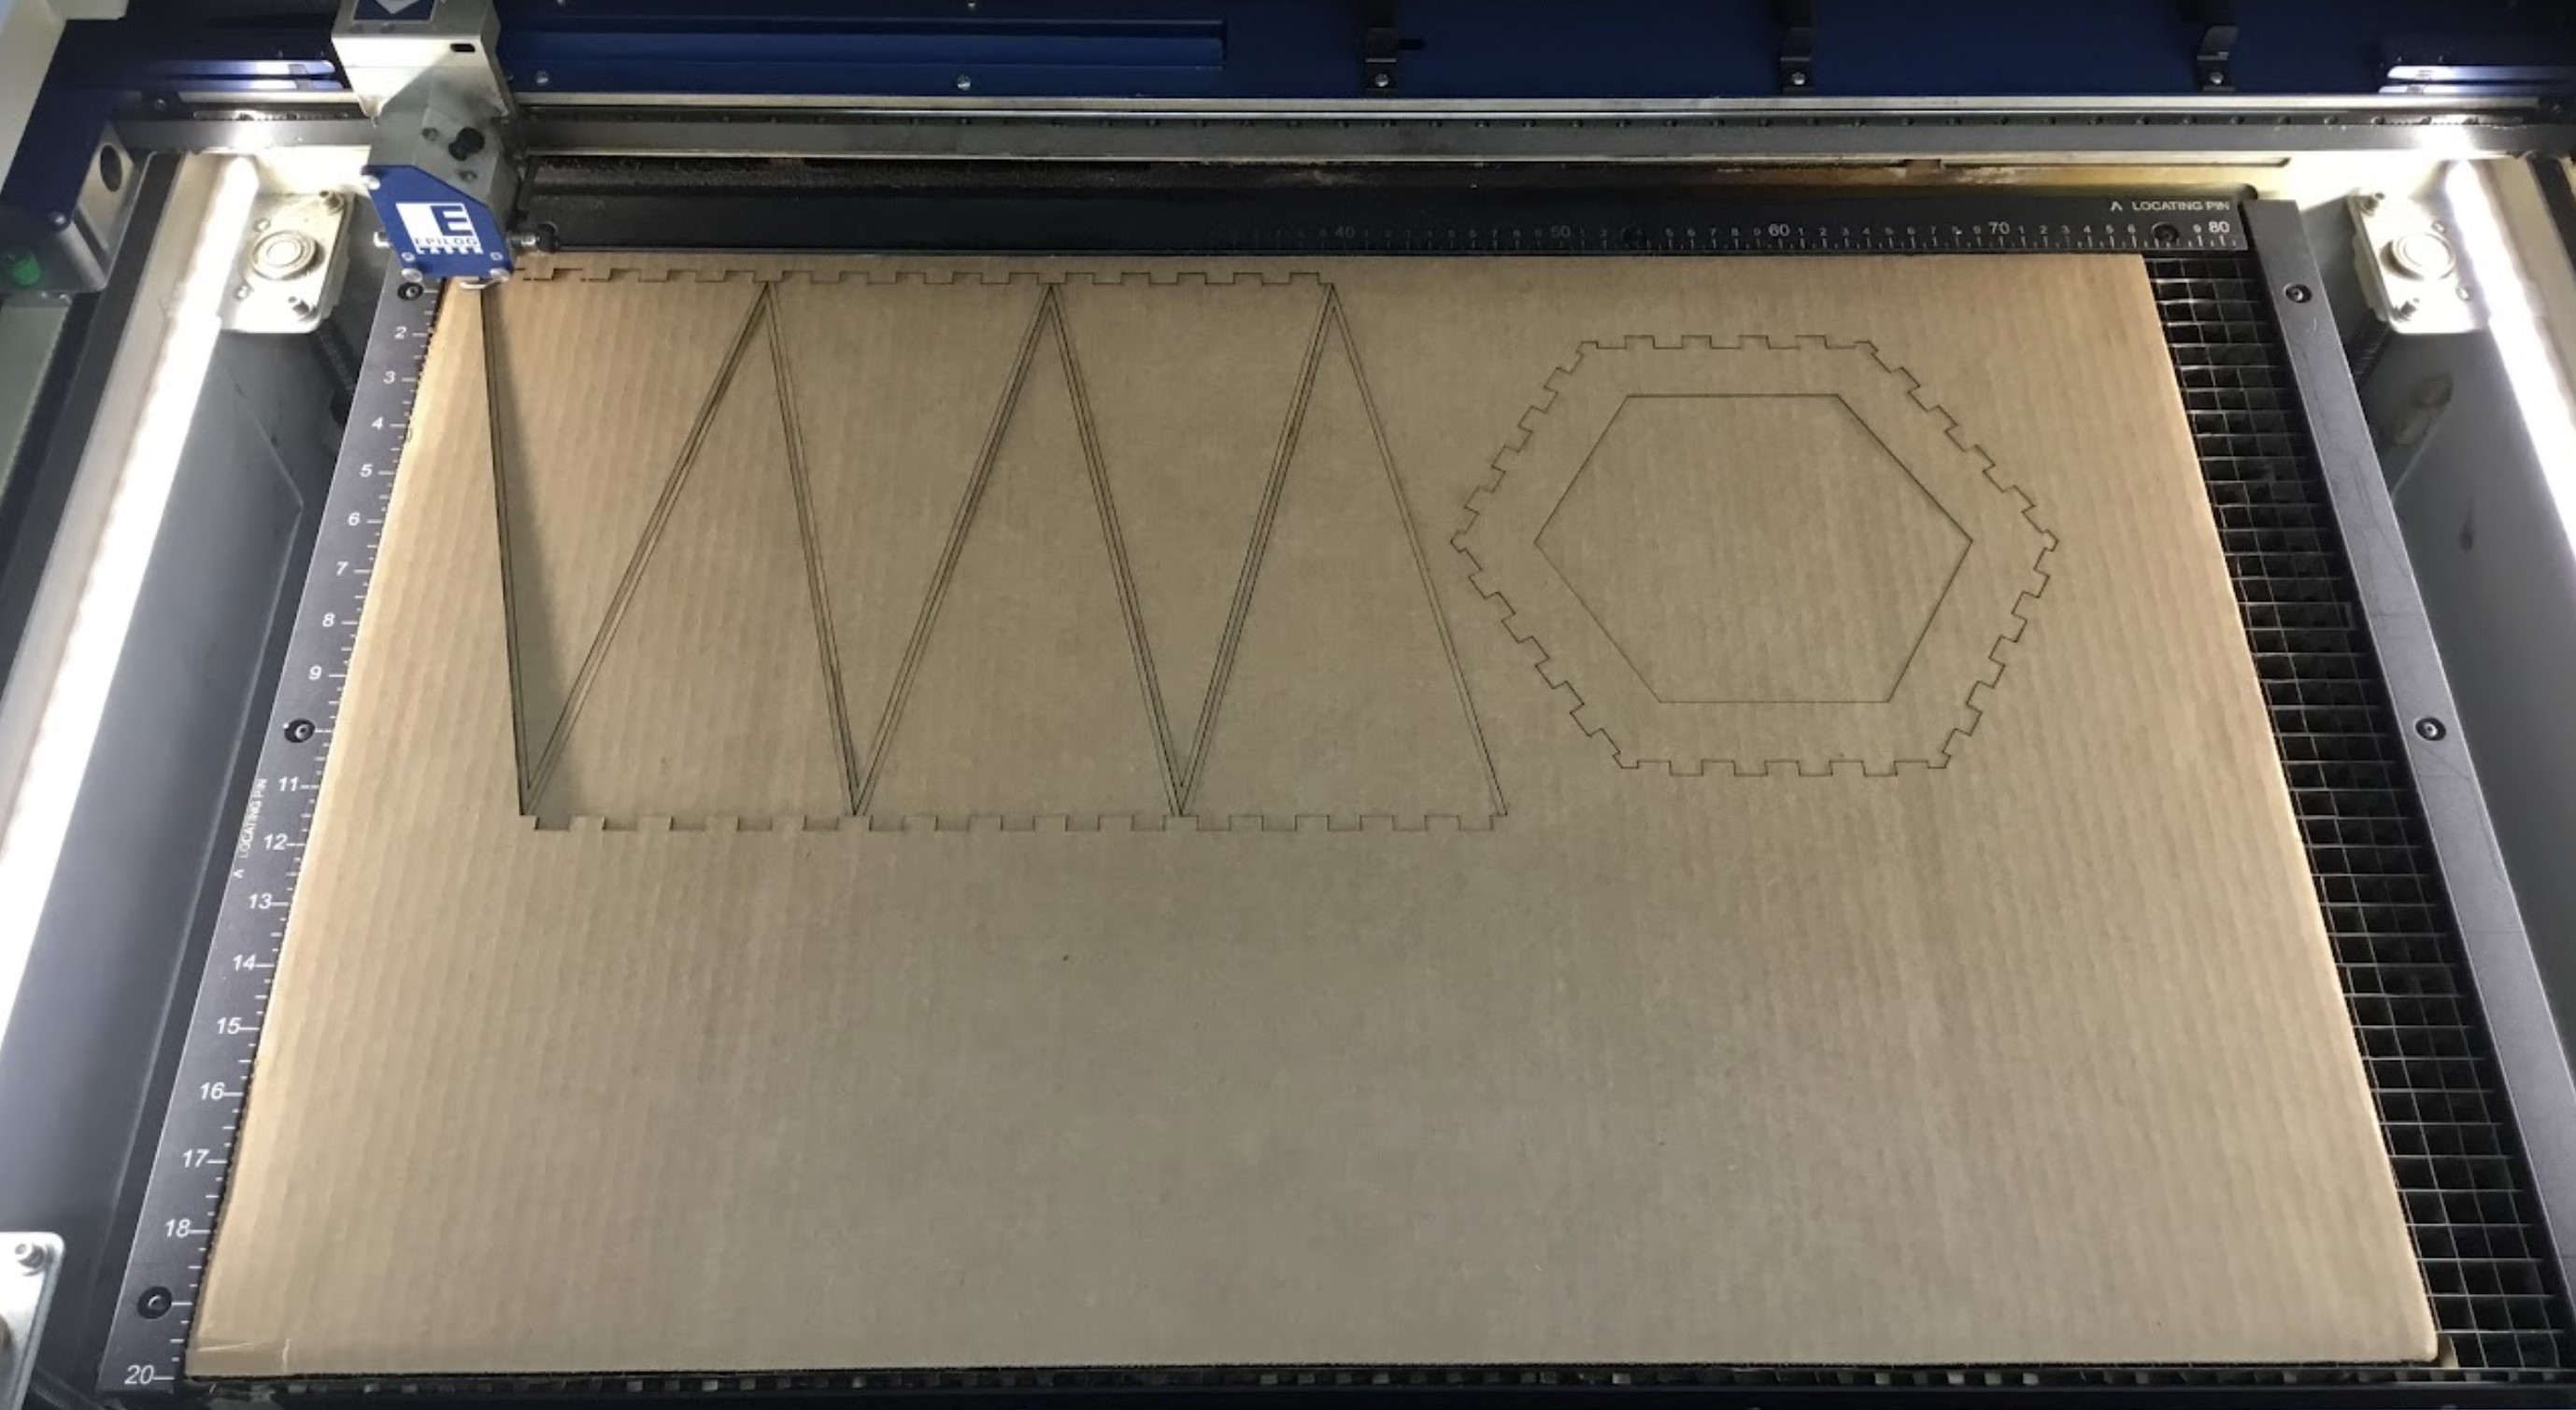
The picture below shows the laser cutting the redesigned box (without the redesigned lid). The lid was later cut separately.
assembling final project
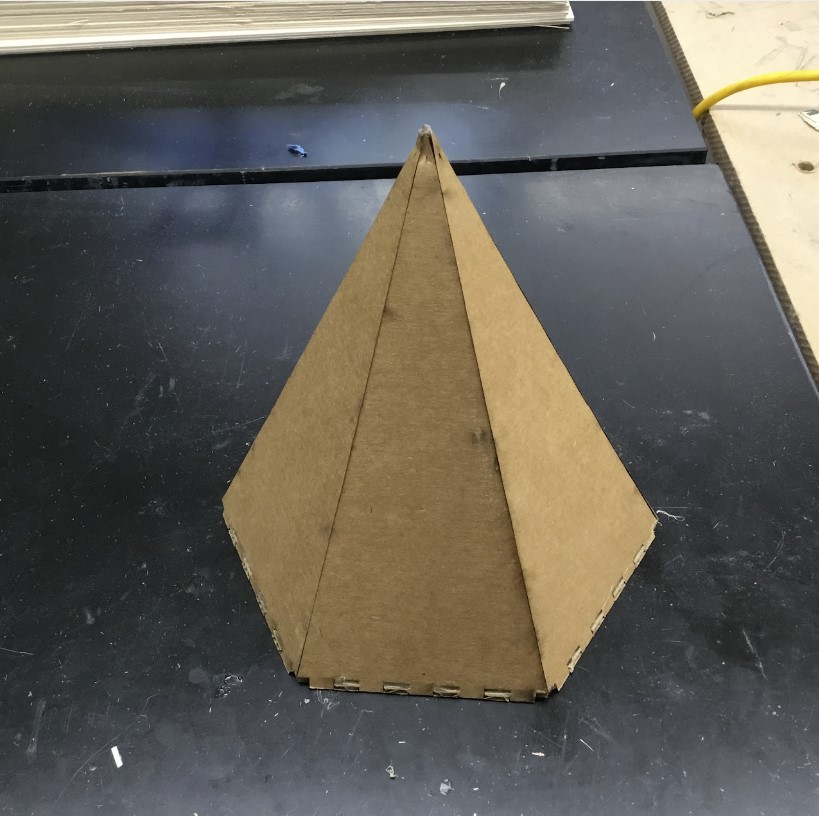
I first taped down every side to make sure the sides fit well. After I made sure everything fit, I hot-glued the inside edges of each side of the pyramid, as well as between the tabs, and removed the tape. I then sanded off the excess tabs that were sticking out so that they smoothly fit with the slanted sides. Finally, I hot glued the lid together and tested if it fit well– it did!
